This blog contains affiliate links. If you click and purchase through them, I may earn a small commission at no extra cost to you. I only recommend products I trust and would use myself.
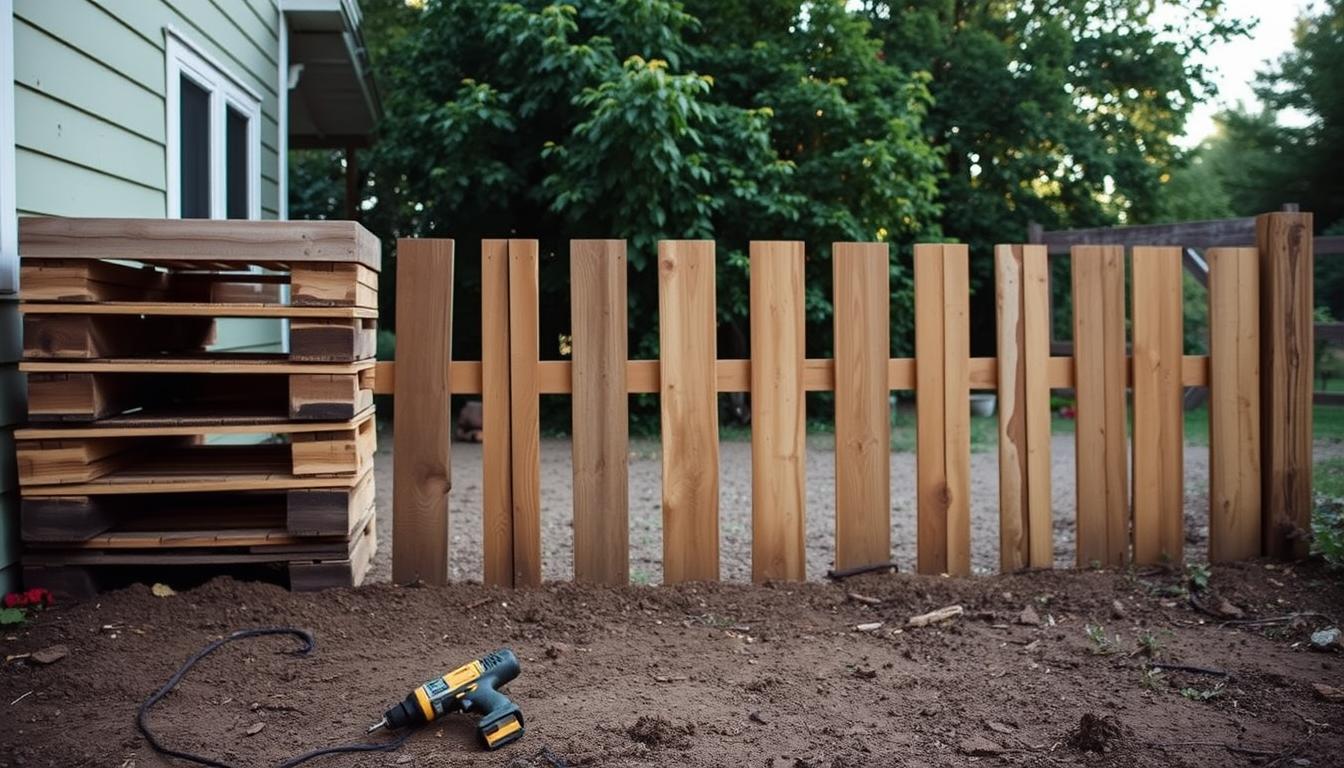
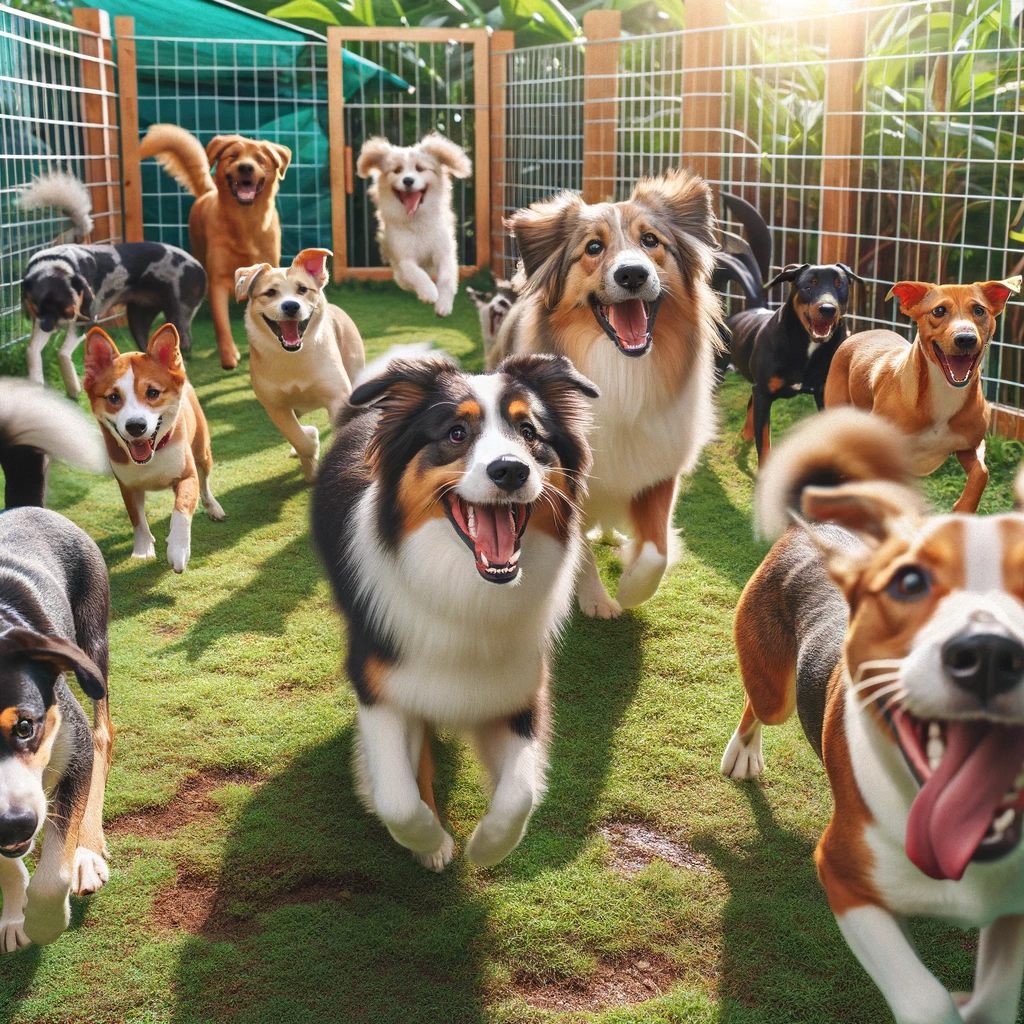
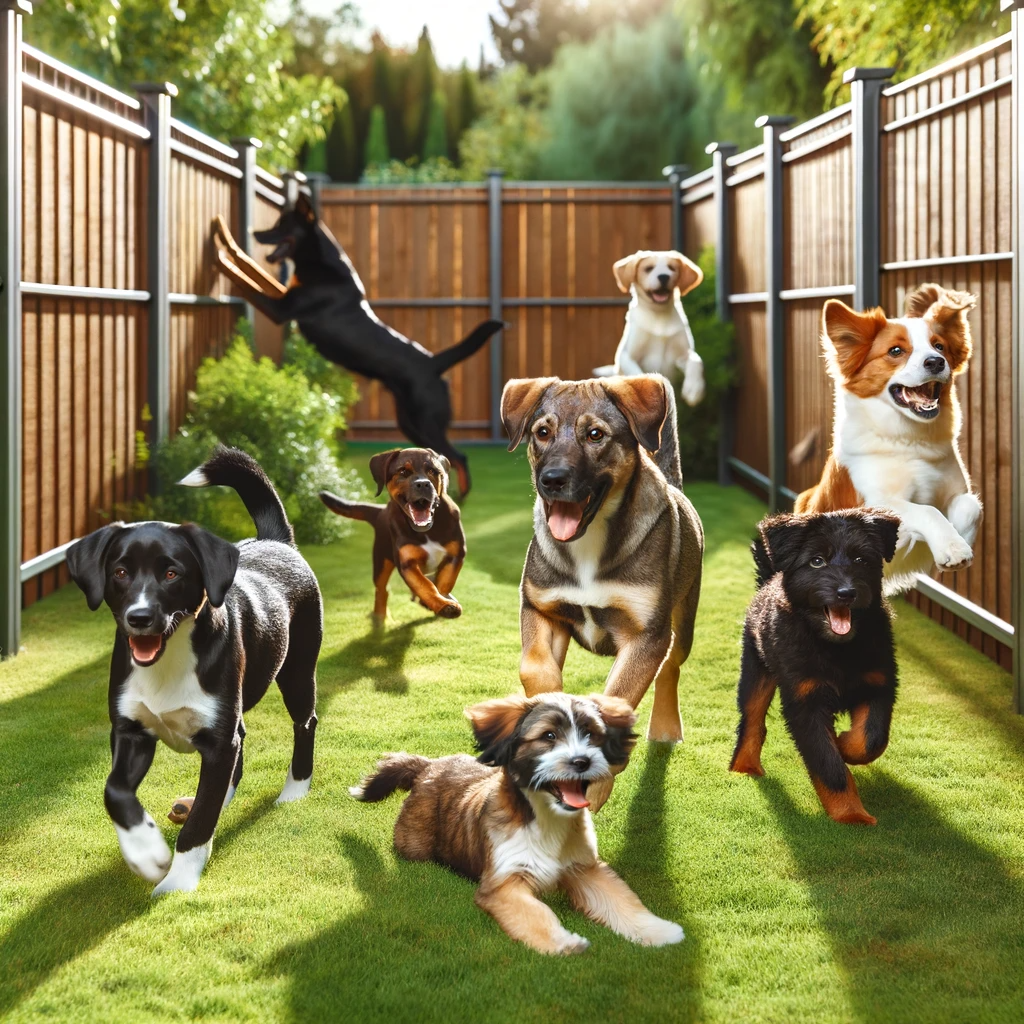
Building a fence for your dog can be pricey, but it doesn’t have to be. We found a way to make a strong enclosure using pallets. This DIY project is not only affordable but also a fun weekend activity.
You can make a reliable DIY dog fence with pallets, which are often free. This guide will show you how to plan and build your fence, including adding a simple gate. With these cheap dog fence ideas, you can keep your pet safe without spending a lot.
Key Takeaways
- Build a cost-effective dog enclosure using repurposed materials.
- Follow a step-by-step guide to create a sturdy DIY fence.
- Discover how to plan your layout and anchor your fence securely.
- Learn how to add a simple gate to your DIY dog fence.
- Understand the benefits of using pallets for your dog enclosure.
Why a Pallet Dog Fence Makes Perfect Sense
Turning pallets into a dog fence is smart and green. It gives old materials a new life, cuts down on waste, and helps the planet.
Cost-Effective Solution for Dog Owners
Using pallets for your dog fence is a money-saver. You can find pallets for free or cheap from local places. This way, you spend less than on store-bought fences.
Eco-Friendly Repurposing of Materials
Choosing pallets for your fence is good for the earth. It uses less new stuff and cuts down on trash. You’re helping the environment by using pallets.
Customizable to Your Space and Needs
A pallet dog fence can be made just right for you. You can change its size and look to fit your yard and dog’s needs. It’s perfect for unique spaces.
| Benefits | Description |
|---|---|
| Cost-Effective | Saves money by using readily available pallets |
| Eco-Friendly | Reduces waste by repurposing materials |
| Customizable | Adjusts to fit your yard and dog’s needs |
Choosing a pallet dog fence is good for your pet and the planet. It shows how DIY projects can be useful and kind to the earth.
Planning Your Weekend Pallet Fence Project
When you start planning your weekend dog fence project, first measure your yard. This step will help you figure out how much material you need and what your fence will look like.
Measuring Your Yard Space
Start by measuring the yard’s edge where you’ll put the fence. Use a tape measure for precise lengths. Don’t forget to account for any trees or slopes that could change your fence’s design.
Determining Fence Height Based on Dog Size
The fence’s height depends on your dog’s size and breed. Small dogs might need a 3-foot fence, while bigger dogs might need a taller one to stop them from jumping.
Creating a Simple Layout Sketch
Make a simple sketch of your yard. Include where the fence will go, where the gate will be, and any corners or turns. This sketch will help you figure out how many pallets you’ll need.
Breaking Down the Two-Day Timeline
Split your project into tasks for two days. Day one is for preparing the site and putting up the first fence sections. Day two is for making the fence stronger and adding the final touches.
Complete Materials List for Your Pallet Dog Fence
Having a good list of materials is key for a successful pallet dog fence. Before starting, make sure you have everything needed. This will help avoid delays and keep your dog safe.
Pallet Selection and Quantity Needed
We used eleven pallets for our fence. The number you need will depend on your yard’s size and fence height. Choose sturdy, undamaged pallets that are the same size for easier building.
Essential Tools: Drill, Saw, Hammer, Level
The right tools are crucial for a strong pallet dog fence. You’ll need:
- A drill for screwing pallets together
- A saw for cutting pallets to size
- A hammer for tapping pieces into place
- A level to ensure your fence is straight and even
Hardware: Screws, Nails, Metal Stakes, Brackets
To keep your pallets in place, you’ll need:
- Screws for assembling the fence sections
- Nails for extra support
- Metal stakes to anchor the fence to the ground
- Brackets for connecting pallets at corners and angles
We added 2 x 4s and 2 x 2s for support. We also used screws and metal stakes for security.
Optional Materials for Enhanced Security
For extra security, consider:
- Chicken wire or hardware cloth to prevent digging
- Additional height extensions for jumpers
- Weatherproofing treatments to protect your fence from the elements
| Material | Quantity | Purpose |
|---|---|---|
| Pallets | 11 | Fence structure |
| Screws | 1 box | Assembling fence sections |
| Metal Stakes | 6 | Anchoring fence to ground |
| 2 x 4s | 2 | Support beams |
| 2 x 2s | 2 | Additional support |
By getting these materials and following the steps, you’ll make a safe pallet dog enclosure.
Budget Breakdown: Total Cost Estimate
Building a dog fence can be affordable, especially with a DIY pallet fence. This method saves money and is good for the environment. It uses materials that would otherwise be thrown away.
Price Range for New vs. Recycled Materials
Recycled pallets can cut down your fence’s cost. New materials might cost $3 to $10 per pallet. But, recycled ones can be free or just $1 to $3, based on where you find them.
Cost Comparison with Commercial Fencing
Commercial dog fences are pricey, costing $10 to $30 per foot. But, a pallet fence can be as low as $3 to $5 per foot. This makes it a budget-friendly dog fence choice.
Where to Save and Where to Spend
To save money, look for pallets locally or online. But, spend on good hardware like metal stakes and brackets. This ensures your fence is strong and lasts long.
How to Source Free or Low-Cost Pallets
Finding free or low-cost pallets can help save money on your dog fence. You can find them in many places. This way, you get good materials without spending too much.
Local Businesses That Give Away Pallets
Many local businesses get goods on pallets and often give them away. You can check out:
- Hardware stores like Ace Hardware
- Home improvement stores like Lowe’s
- Local liquor stores or supermarkets
Online Marketplaces and Community Groups
Online sites like Craigslist, Facebook Marketplace, and local groups are also good. People often give away pallets for free or sell them cheaply.
What to Look for in Quality Pallets
When looking for pallets, find ones that are sturdy and in good shape. Stay away from pallets with rot, too much wear, or chemical treatments.
| Pallet Condition | Quality Indicator |
|---|---|
| Sturdy, minimal wear | High Quality |
| Some wear, still sturdy | Medium Quality |
| Rotted, broken | Low Quality |
Preparing Your Pallets for Fence Construction
Before you start building your pallet dog fence, it’s crucial to prepare your pallets properly. This step is essential for ensuring the durability and safety of your fence.
Disassembling vs. Using Whole Pallets
When it comes to using pallets for your fence, you have two main options: disassemble them or use them whole. Disassembling pallets allows you to create a more uniform fence and can make it easier to work with the wood. On the other hand, using whole pallets can save time and add a unique, rustic charm to your fence.
- Disassembling gives you more control over the final appearance.
- Whole pallets can be quicker to install.
Cleaning and Sanding Rough Edges
Regardless of whether you disassemble your pallets or use them whole, cleaning and sanding are crucial steps. Remove any dirt, debris, or nails that could cause injury. Sanding down rough edges will help prevent splinters and ensure a smoother finish.
- Inspect each pallet for dirt and debris.
- Sand all surfaces to smooth out rough edges.
Treating Wood for Outdoor Durability
To extend the life of your pallet fence, treating the wood is a must. Apply a weather-resistant sealant or stain to protect the wood from the elements. This step will help prevent rot and decay, ensuring your fence remains sturdy for years to come.
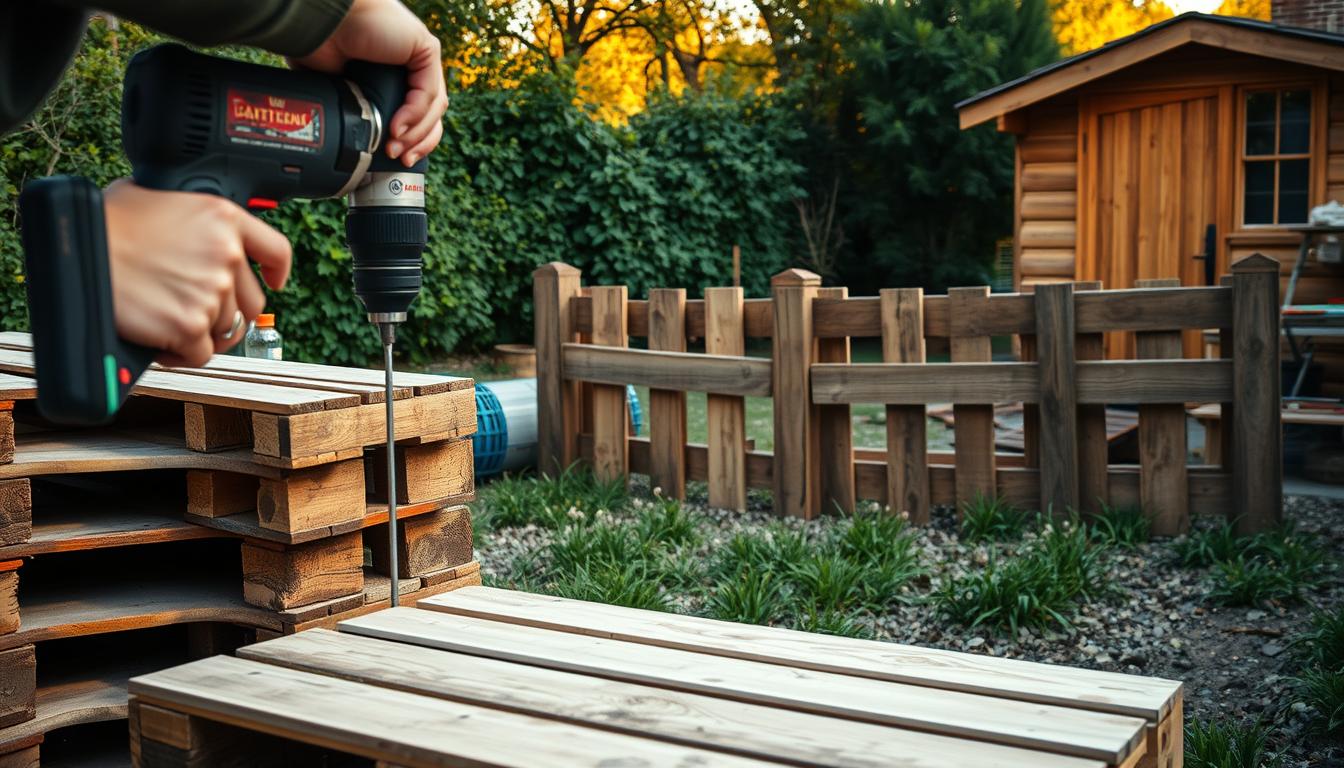
By following these steps, you’ll be able to create a safe, durable, and attractive pallet dog fence. It will provide your pet with a secure outdoor space.
Saturday Morning: Setting Up Your Fence Perimeter
Starting your DIY pallet dog fence on Saturday morning means marking the fence perimeter. This first step is key to defining the area for your dog.
Marking Your Fence Line
To mark your fence line, you’ll need a string and stakes or a broom handle. Start by finding the corners of your fence area. Then, drive stakes into the ground at these points. Next, tie the string around the stakes to create a clear boundary line.
This visual guide will help you see the fence’s layout. It also lets you make any needed adjustments before moving on.
Installing Corner Posts and Supports
After marking your fence line, it’s time to install the corner posts. These posts are crucial for your pallet fence’s structure. Dig holes for the posts at the marked corners, making sure they’re deep enough for stability.
Fill the holes with concrete to secure the posts firmly in place.
Preparing the Ground for Stability
Preparing the ground is key for your fence’s stability and longevity. Clear the area within the marked fence line of debris, vegetation, or obstructions. If the ground is uneven, level it to ensure your fence stands straight.
Dealing with Uneven Terrain
Uneven terrain can be a challenge, but it’s manageable. For areas with significant slope, consider stepping the fence by adjusting the height of the pallets. Or use adjustable brackets to fit the gradient. This keeps the fence’s integrity and appearance intact.
By following these steps, you’ll have a solid foundation for your pallet dog fence. It will be secure and functional.
Saturday Afternoon: Installing Your First Pallet Sections
As Saturday afternoon arrives, it’s time to start installing your first pallet sections. Your DIY dog fence is coming to life. With your pallets ready and your yard measured, you’re set to build a fence that keeps your dog safe.
Securing the First Pallet with Metal Stakes
First, hold up the first pallet and check if it’s level. If the ground is uneven, adjust it by adding or removing dirt. Once level, dig a hole for the post and screw the pallet to it with metal stakes. This step is key for securing pallets firmly.
Connecting Pallets Together Securely
After securing the first pallet, it’s time to connect subsequent pallets to it. Use screws or nails to join the pallets, making sure they’re aligned right. Keep going until you’ve covered the whole area you marked.
Creating Corners and Angles
When you hit a corner or angle, adjust the pallets as needed. You might need to cut a pallet or use a bracket for corners. Planning ahead helps you handle these parts smoothly.
Troubleshooting Common First-Day Issues
As you install, you might face issues like uneven ground or misaligned pallets. Keep checking your level and be ready to adjust. If a pallet doesn’t fit, try disassembling and reassembling it.
By following these steps and solving problems as they come, you’ll get your first pallet sections up on Saturday afternoon. You’ll make great progress on your DIY dog fence project.
Sunday Morning: Reinforcing Your Pallet Fence for Security
To keep your dog safe, reinforcing your pallet fence is essential on Sunday morning. As you work on your DIY project, adding security features is key. This will protect your furry friend.
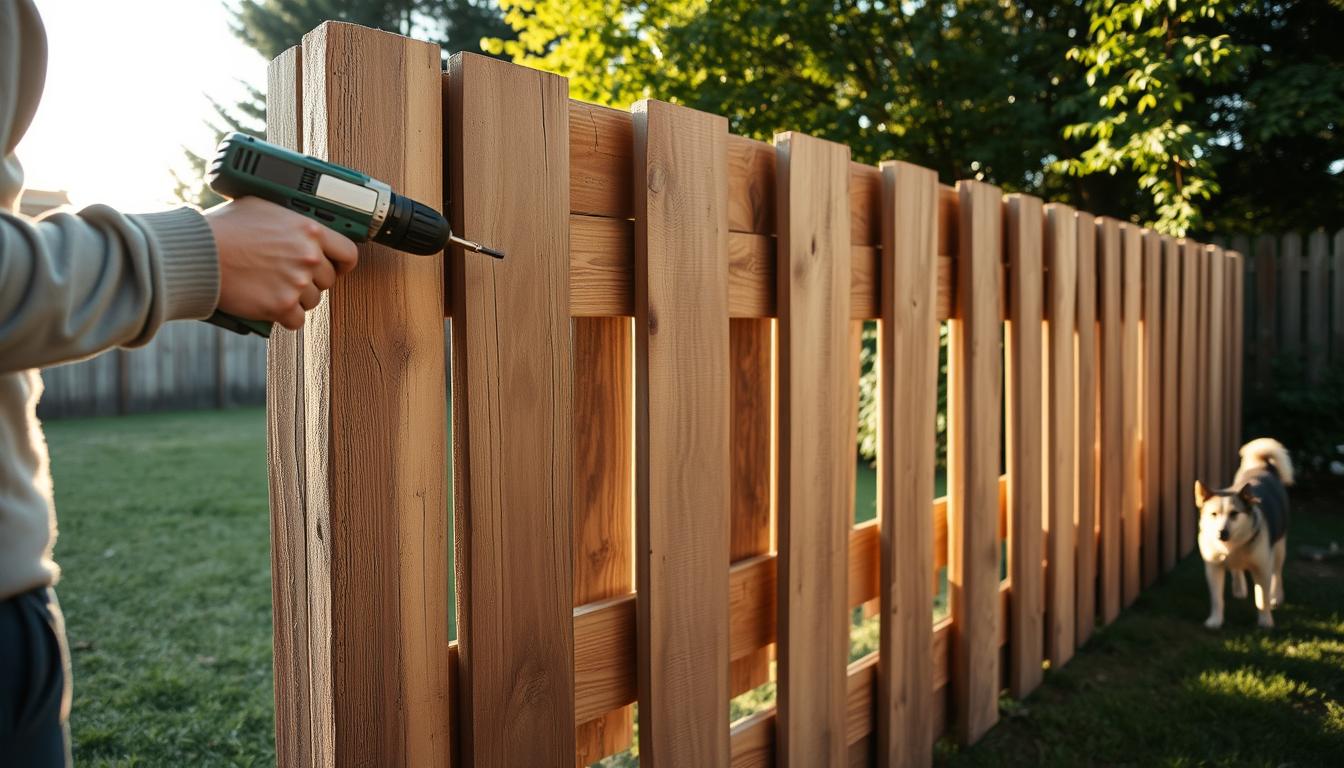
Adding Cross Supports for Stability
Adding cross supports is a crucial step in making your fence stronger. This makes it harder for your dog to knock it over or escape. Use sturdy wooden beams or metal rods for these supports. Make sure they are well attached to the pallets.
Securing the Bottom Against Diggers
If your dog likes to dig, you need to secure the fence’s bottom. You can bury the pallets a few inches underground or attach a wire mesh. This will stop digging. As “a secure fence is a happy dog’s best friend”, this step will make you feel more at ease.
Heightening the Fence for Jumpers
If your dog is a jumper, you might need to make the fence taller. You could add an extension or use taller pallets. This will stop your dog from jumping over and escaping.
Installing Chicken Wire for Added Protection
Adding chicken wire to your fence can give extra security. It will stop jumpers and diggers from escaping. Attach the chicken wire to the pallets with wire or staples, making sure it’s tight and secure.
By following these steps, you can make your pallet dog fence safe and secure. Remember, a safe dog is a happy dog.
Sunday Afternoon: Finishing Touches and Gate Installation
Sunday afternoon is for adding the final details to your pallet dog enclosure. This turns your fence into a safe and welcoming space for your dog.
Building a Simple Pallet Gate
Building a pallet gate is easy but needs careful planning. Choose pallets that fit your entrance’s width. It should be wide enough for your dog but not too wide.
Tip: Use the same pallet material for your gate as the rest of the fence. This keeps the look uniform.
Installing Hinges and Latches
After building your gate, install hinges and latches. This makes your gate functional and secure. Attach hinges to the gate and fence post well, and pick a latch your dog can’t open.
Remember: Your dog’s safety depends on a sturdy gate and its fittings.
Weatherproofing Your Completed Fence
To make your pallet dog fence last longer, apply a weatherproof treatment. Use a waterproof sealant or outdoor paint. This protects the wood from rot and damage, keeping your fence safe for years.
| Weatherproofing Method | Benefits |
|---|---|
| Waterproof Sealant | Protects wood from moisture, reducing rot and damage |
| Outdoor Paint | Provides a protective coat while adding color to your fence |
Final Safety Check for Your Dog
Before letting your dog in, do a safety check. Make sure there are no sharp edges, the gate is secure, and no gaps for escape.
By following these steps, you’ll have a safe and secure pallet dog enclosure. It will be a comfortable outdoor space for your dog.
Personalizing Your DIY Dog Enclosure
Your pallet dog fence is more than a barrier. It’s a canvas for your personal touch. Now that it’s up, think about making it yours. This will improve your dog’s outdoor time.
Adding Paint or Stain for Longevity
Paint or stain not only looks better but also protects the wood. Pick a water-resistant finish for lasting protection. Choose a color that matches your home’s look for a unified appearance.
Incorporating Dog-Friendly Features
Think about what will make your dog’s space better. You could add a doghouse, a shaded area, or a small agility course. These can be part of your fence design or added later.
Landscaping Around Your New Fence
Landscaping around your fence makes your yard look better and keeps your dog safe. Pick plants that are safe for dogs to avoid harm.
Dog-Safe Plants and Ground Cover
Choose dog-safe plants for around your fence. Some good options include:
| Plant | Benefits |
|---|---|
| Creeping Thyme | Soft underfoot, fragrant, and drought-tolerant |
| Dog-Friendly Grasses | Durable and safe for dogs to run and play on |
| Petunias | Colorful, easy to care for, and non-toxic to dogs |
With these plants, you can make a safe and welcoming outdoor space for your dog.
Conclusion: Our Finished Weekend Project
You’ve finished your weekend dog fence project. Now, your furry friend can safely play outside. You made a beautiful, useful fence for almost no cost. Your pallet fence is not only cheap but also good for the planet, using materials that would have been thrown away.
Looking at your DIY dog fence, you should be proud. You’ve made a safe area for your dog to play and relax. This project saved you money and made you feel accomplished. It shows how creative and resourceful you can be.
Now, you can relax knowing your dog is safe in your yard. The pallet fence is strong and looks great, lasting for many years. With your fence up, you can start new projects or just enjoy time with your dog.
FAQ
What is the ideal size of pallets to use for a DIY pallet dog fence?
The size of pallets needed for a dog fence depends on its height and length. Standard pallets are 48″ x 40″. You can adjust this size based on your needs. For a typical dog fence, use pallets that are at least 4-6 feet tall to keep your dog in.
How do I ensure my pallet dog fence is secure for my dog?
To make your pallet dog fence secure, add cross supports and secure the bottom to stop digging. If your dog jumps, make the fence taller. You can also add chicken wire or hardware cloth for extra safety.
Can I use a DIY pallet dog fence for small or medium-sized dogs?
Yes, a DIY pallet dog fence works for small or medium-sized dogs. But, think about your dog’s size and breed when choosing the fence’s height and design. For smaller dogs, use smaller pallets or adjust the slats’ spacing to prevent escape.
How long does it take to build a DIY pallet dog fence?
You can build a DIY pallet dog fence in just one weekend. The guide breaks the project into tasks for Saturday and Sunday.
What are some tips for sourcing free or low-cost pallets?
Find free or low-cost pallets from local businesses, online marketplaces, and community groups. Look for pallets in good condition, made from durable wood, and free from pests or rodents.
Can I personalize my DIY pallet dog fence with paint or stain?
Yes, you can add color and protect the wood with paint or stain. Just use pet-safe materials and follow the instructions.
How do I weatherproof my DIY pallet dog fence?
Weatherproof your fence by applying a waterproof sealant or stain. This protects the wood from moisture and UV damage. Regularly check the fence for wear and tear.
What are some dog-friendly features I can incorporate into my DIY pallet dog fence?
Add dog-friendly features like dog doors, ramps, or a doghouse to your fence. You can also landscape around the fence with dog-safe plants to make it welcoming for your dog.

